
Issue
The State of Arizona provides access to their crash data through a Citrix (remote desktop) portal. In order to download data, a user must log in to a Citrix remote desktop; access the ACIS website; and initiate a download of the data to your local computer.
Note: This document is provided as-is. Pd’ Programming does not have special knowledge of or direct access to the ACIS system. We have captured the screens below with the assistance of a local agency that does have access. Please follow any instructions provided by the DOT.
Explanation
- OverviewThis article describes steps for querying and downloading crash data from the ADOT ACIS portal. Pd’ Programming does not have access to this portal and has worked with an Arizona client to create these instructions and obtain the screen images. As you use this document, please contact us with any inaccuracies or clarifying suggestions. We’ll update it right away.
- Your agency must have an agreement with the DOT for dataIt is our understanding that a contract must be signed before you will be able to access and download data. This should be a one-time arrangement and may already be in place for your agency. Contact the DOT to set this up. Instructions for that are here
- You must be added to the ADOT “GSG_SBC4_Local_Drive” Active Directory group.This is a one-time set up per account. What this step does it makes it possible to save your data file to your own computer rather than just to the Citrix desktop. It is very difficult to transfer files from the Citrix desktop to your local computer without this access.To be added to the proper Active Directory group, you can either open a ticket electronically or call customer service at 602-712-7249. They will ask for your “RACF ID”. Once you’ve been authenticated, you will request to be added to the “GSG_SBC4_Local_Drive” Active Directory group. Once completed, confirm that you can navigate to your local drive from within the Citrix remote desktop session.
Note: if the situation is urgent and you must download the data before the above step can be completed, we’ve heard of people using their personal email addresses to log into gMail and send the file(s) that way. We do not recommend this, and neither does ADOT. In an emergency, it can work.
Once you have a contract and your ADOT account, you are ready to proceed. Note: We’ve heard anecdotally that these accounts expire and need to be renewed if not used frequently enough. For this reason, plan some extra time if you haven’t logged in for a bit. Also, it may be worthwhile to log in periodically just to keep the account current.
Solution
- Access the ADOT remote desktop portal
Navigate to: https://remote.azdot.gov/vpn/index.html It is our understanding that you must use Internet Explorer rather than Chrome, Firefox or another browser.
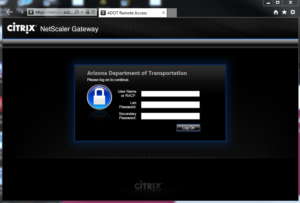
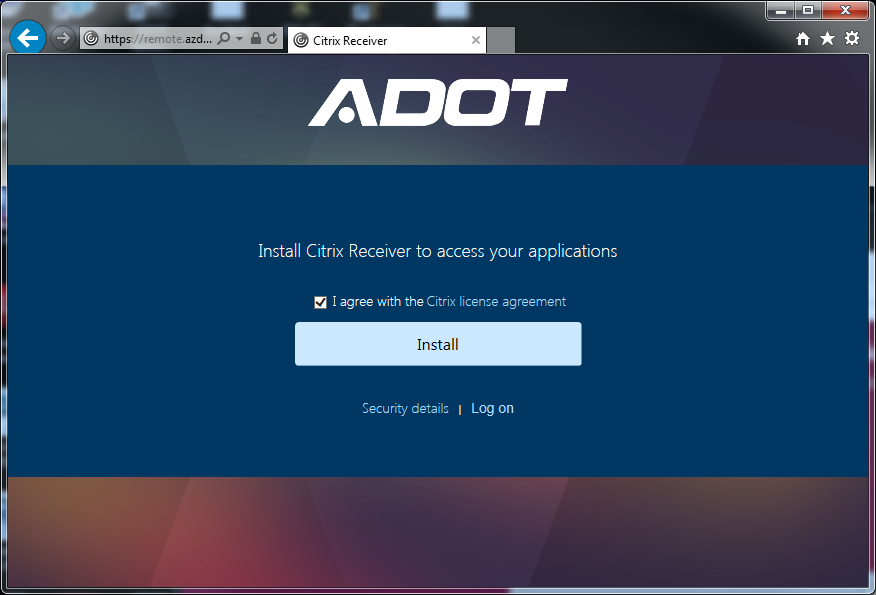
- Allow the Citrix Receiver to be installed/executed.
Check the box that says “I agree with the Citrix license agreement”. Once installed, log on.

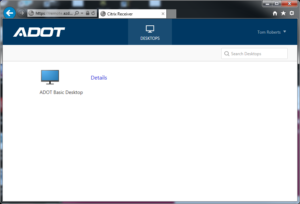
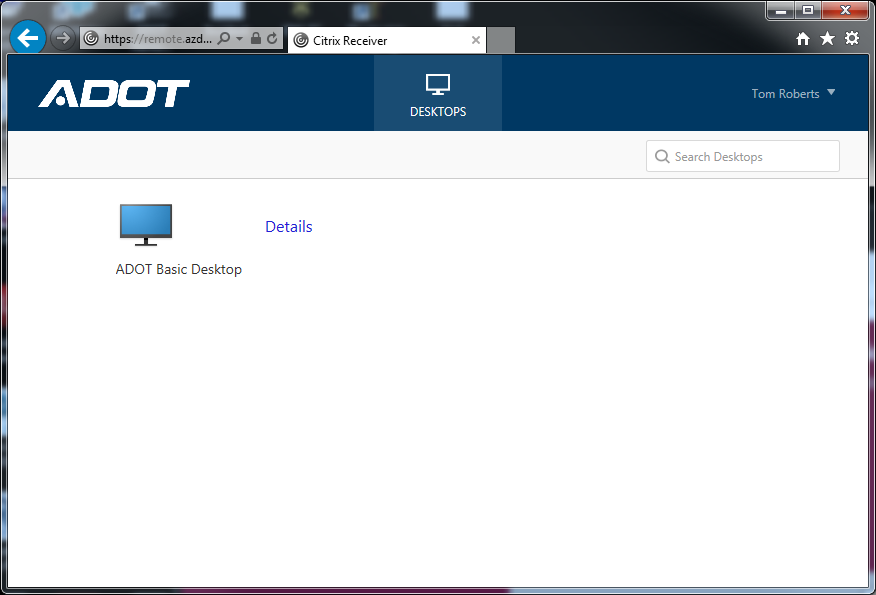
- Look for the ADOT Basic Desktop icon
Click the icon to open your desktop.
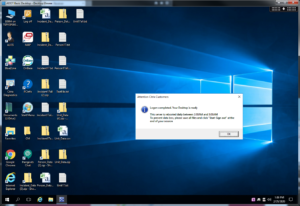
- Arrive at the ADOT Basic Desktop
If all went well, you will see this screen.
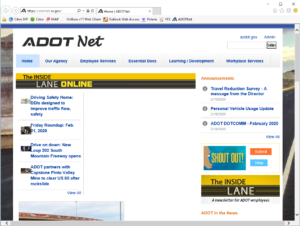
- Access the ADOTNet system
 Double click to run the Internet Explorer program from the ADOT Basic Desktop.
Navigate to https://adotdw/acis
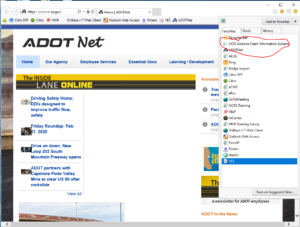
- Locate the ACIS link.
Click on the star at the top right of the browser window to open your favorites menu. Locate the ACIS (Arizona Crash Information System) link and click it.
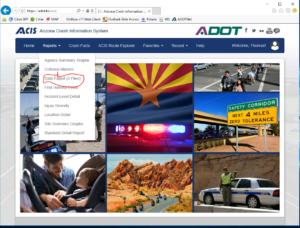
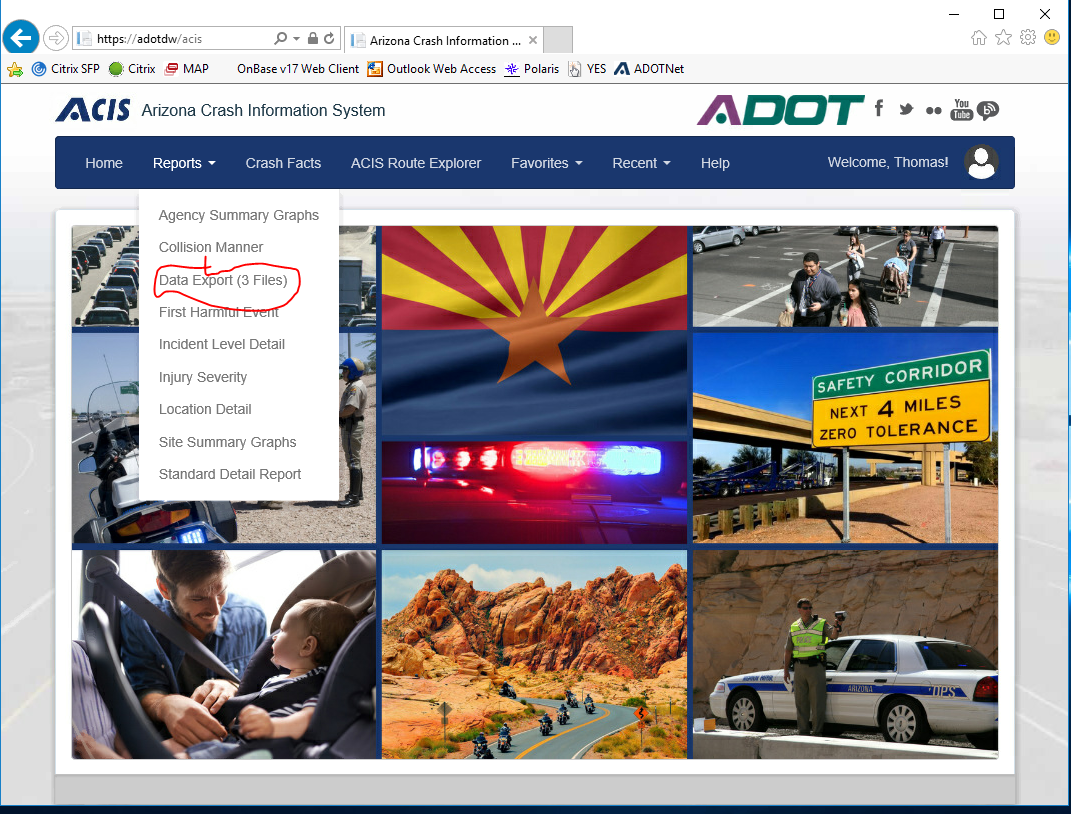
- Locate the Data Export menu item.
Under the Reports menu, you will find “Data Export (3 Files)”. Select that option
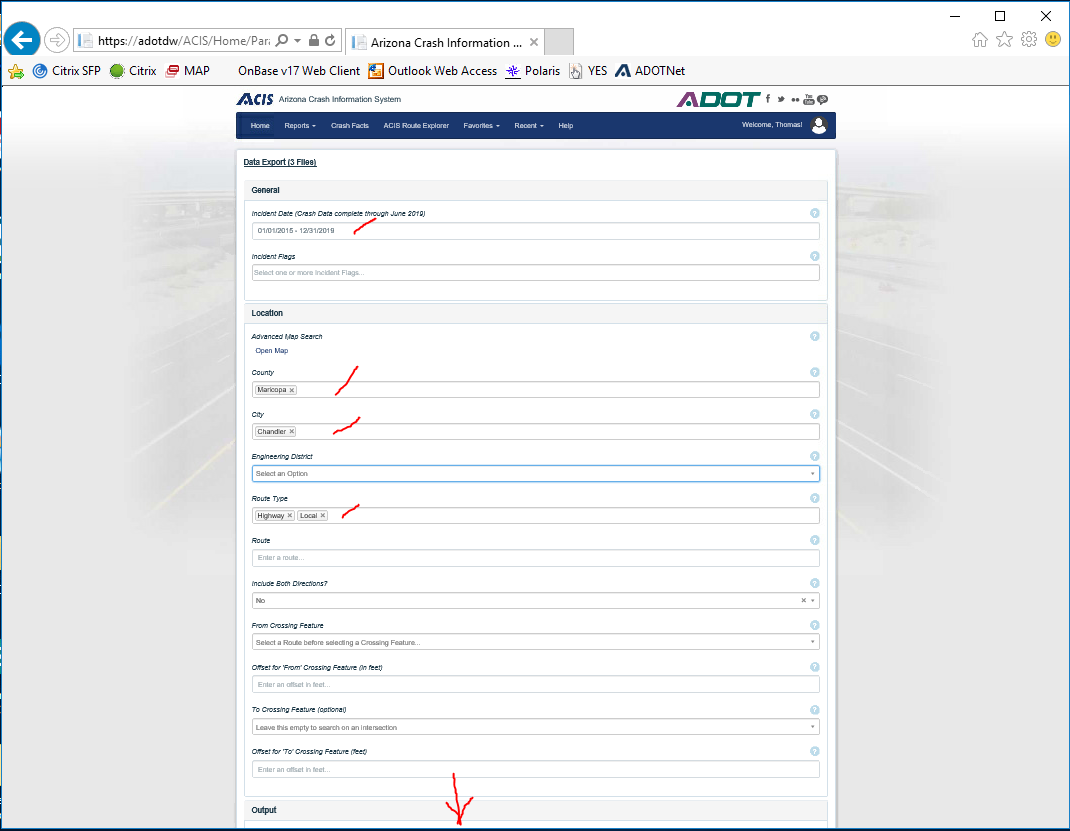
- Populate the query options
Populate the options as shown here.
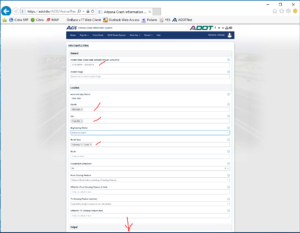
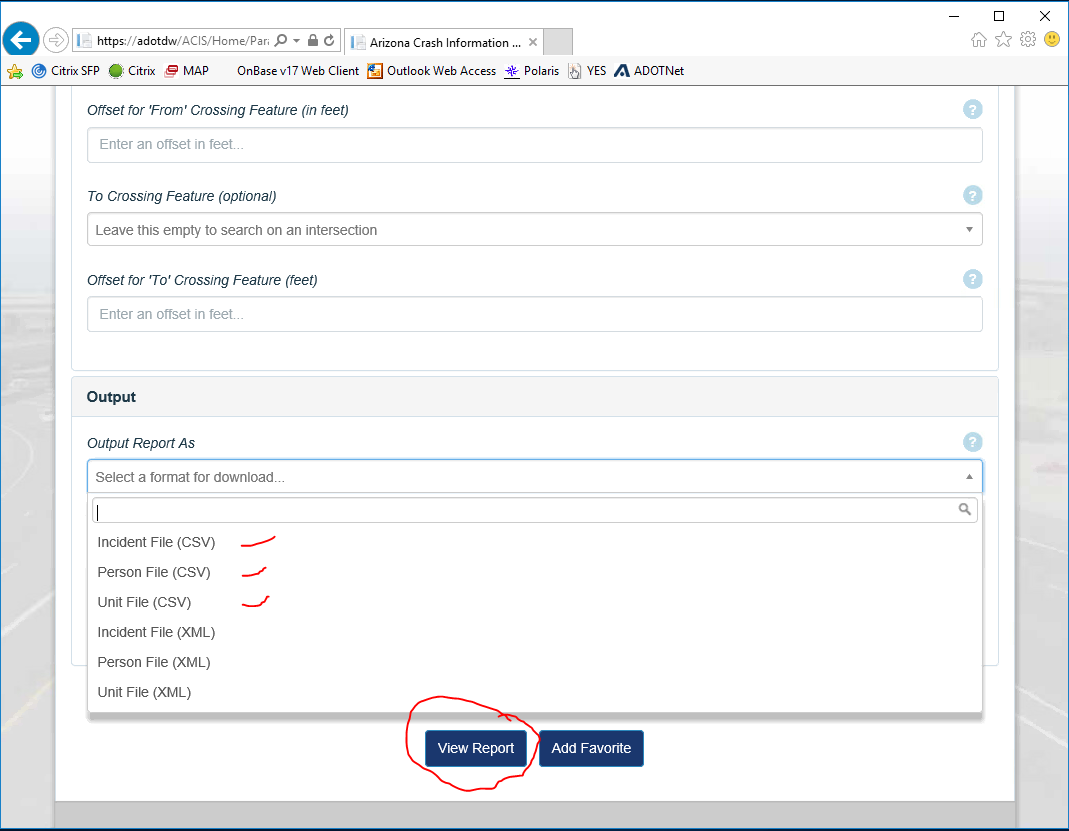
And here…
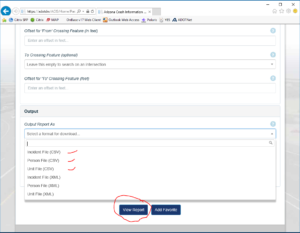
First choose the Incident File (CSV), select “View Report” and save that in the next step. The come back and do the same for the Unit File (CSV) and the Person File (CSV). - Save the file to your local computer
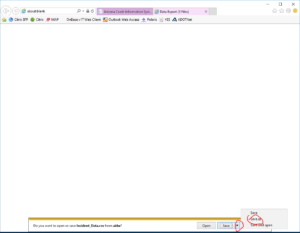
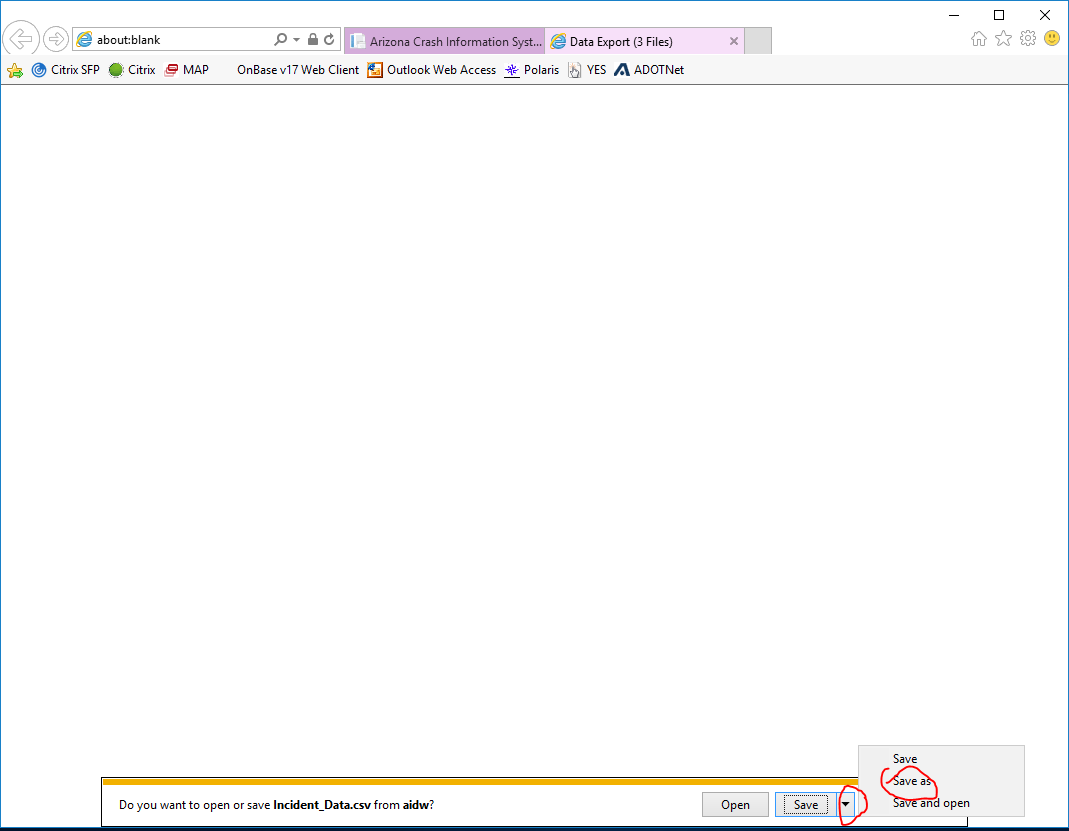
A new tab titled “Data Export (3 Files)” will open as well as a prompt at the bottom to “Open / Save / Cancel” the download. Choose the menu option next to “Save” and select “Save as”.
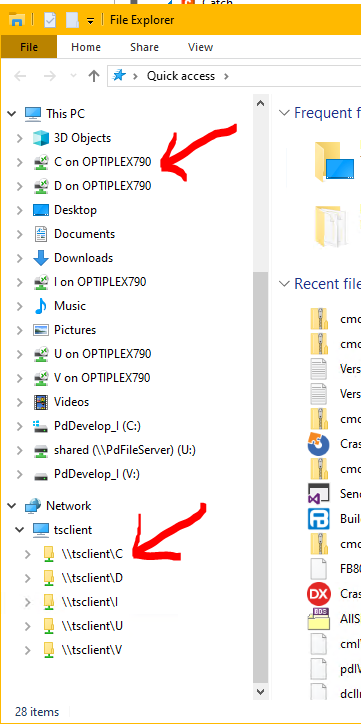
You will be presented with a dialog box showing the file system on the Citrix desktop. Scroll to the bottom of the dialog and locate the local drive folder. (Sorry, we don’t have a real image for this. The image shown is from one of our own machines. It should look similar) If you get to this step and can capture that image for us, we’d be most appreciative) The folder you are looking for will either be labeled “C on <MachineName>” where <MachineName> is the name of your own desktop computer, or it may be labeled \\tsclient\C.
Open that folder and verify that it indeed is pointing to your hard disk. Navigate to an appropriate folder and create a new, empty folder there for the three files you are downloading. Note where that folder is so you can find it again later. Select Save to save the first of the three files. Use the same screen to save each of the three files. The files will have names like Incident, unit, person. Don’t change the filenames. When you are done with this step, there will be a new folder with 3 files in it.
- Log off of the citrix system
Close the browser in the Citrix system, log out of the server, and close your local browser. - Zip your 3 files for upload
Open Windows File Manager (My Computer) and locate the folder containing the three files. Open it. Highlight the three files; right click; select “Send to (compressed) zip folder”.When the compression is complete, you’ll have a new zip file called something like “Units.zip” or “Persons.zip” or similar. Immediately rename that file to be descriptive of the data it contains. (Perhaps “20200521_2019CompleteCrashData” or “2018_PartialCrashData”)a That file is ready to be imported into Crash Magic.


For details on importing your zipped crash data into Crash Magic, please visit this article: Importing crash data w/convert.