Issue
Crash data can be imported from many sources. This article describes the case where the data is provided as an XML file. If your data is being provided in XML format, you also have the option to FTP the data to our servers rather than using the browser interface.
Explanation
If your data is provided in a format other than XML, you will need to run the convert process before importing. For more information, please see Importing with Convert.
When crash data is provided as an XML file, or group of files, the following steps are taken:
- Zip the XML file(s)
- Upload the zip file to Crash Magic
- Begin processing the import
The steps for completing this process follow.
Solution
- If your XML data files are not already zipped, create a zip file and add them to it. Do not add any folders, or any other files to the zip. An easy way to accomplish this is to use the Windows Explorer.
- Locate the required files and hold down the CTRL key while selecting each of them.
- With the desired files selected, place your cursor over any one of them.
- Click with the right mouse button and choose “Send to..”. Then choose “Compressed (zipped) folder”.
- A new file will be created and selected. It is usually a good idea to rename it.
- This is the Zip file you will upload to the “Import XML data” page.
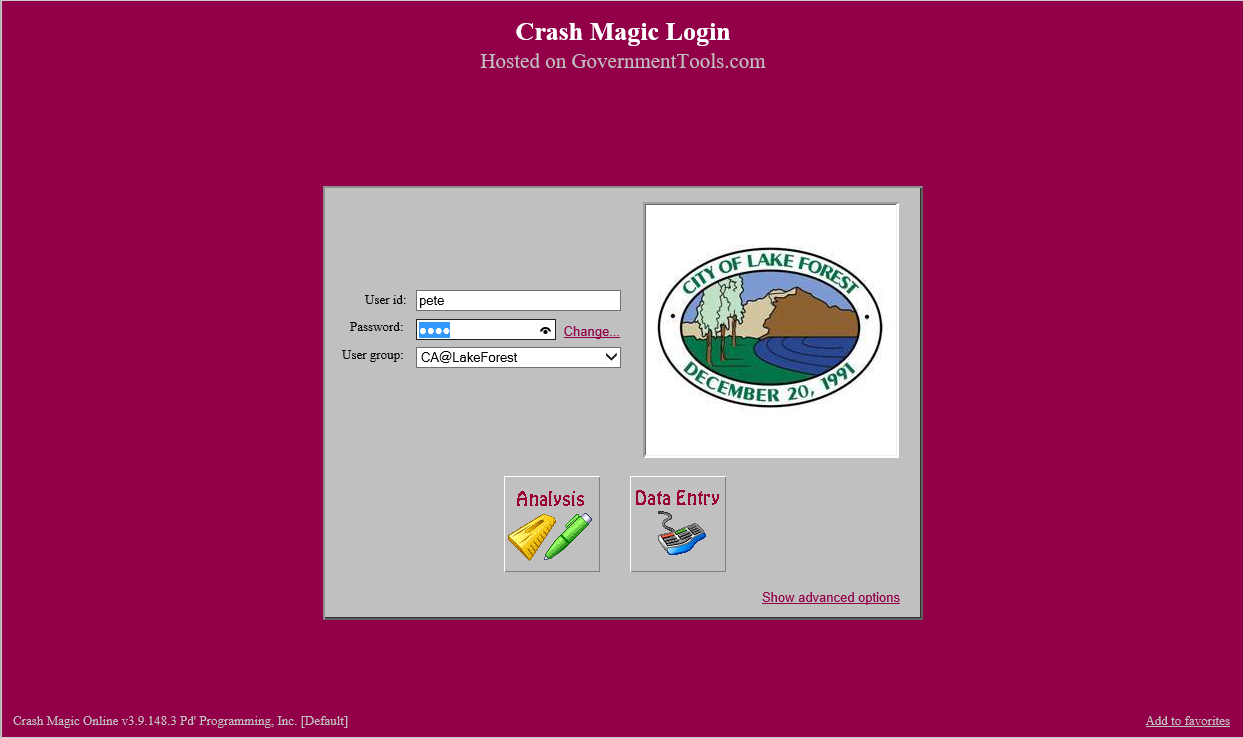
- Log in to Crash Magic as an administrator.
- Proceed to www.GovernmentTools.com.
- Enter your login information and select your user group.

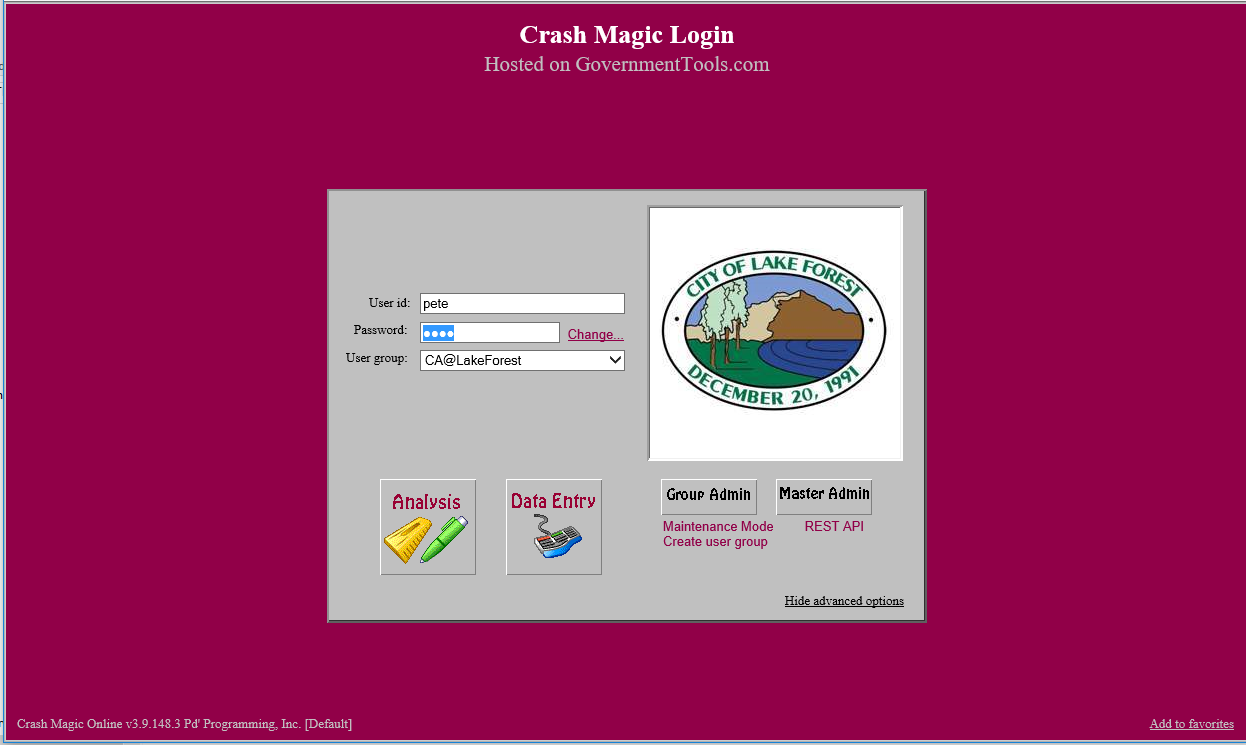
- Click the “Show advanced options” link below the logo of your agency. New buttons and links will become available.
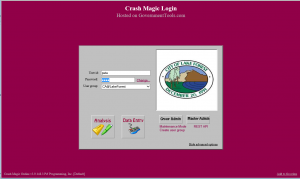
- Select the “Group Admin” button.
- Navigate to your user group “Import XML data” screen
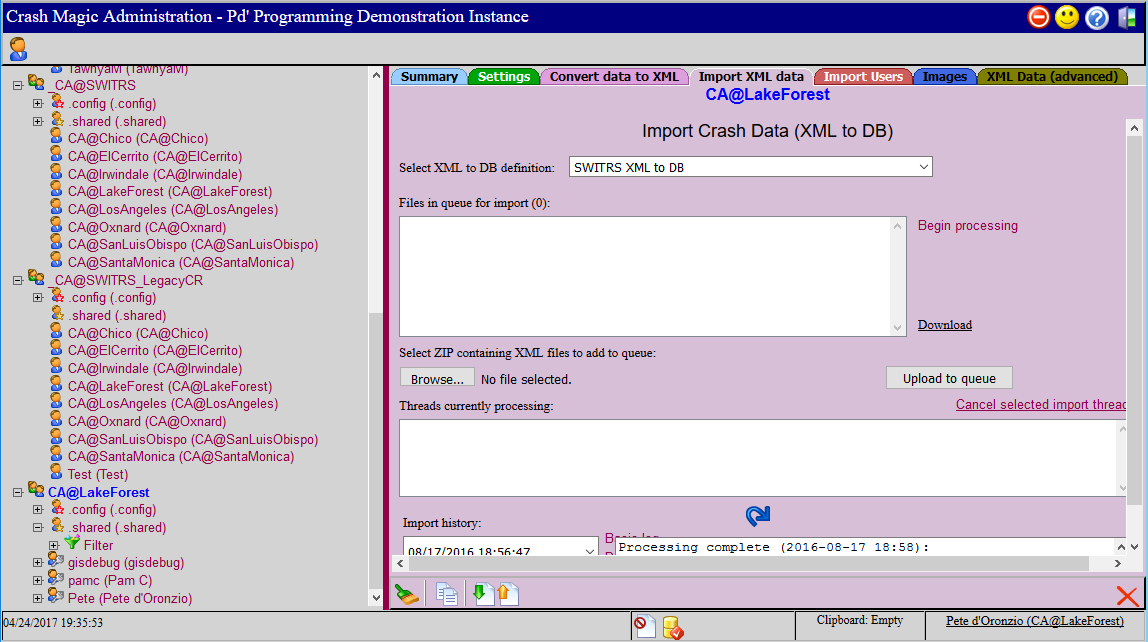
- When you have successfully logged in, you will be presented with the administrator console. In the tree on the left, locate the user group for your agency. It will be your state abbreviation @ your agency. (i.e. CA@LakeForest) It will usually be the last user group in the list. Click on your user group name to select it.
- On the page for your agency, there will be a number of tabs across the top. Locate “Import XML data” and select it.
- Import the XML files
- Be sure the tab titled “Import XML data” is selected.
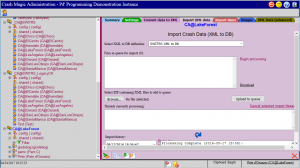
- In the “Select XML to DB definition” list, choose the import definition that matches your data source. There will usually be one that identifies the name of your data source. Some configurations include an option to overwrite existing records or to skip over existing identical records. For most agencies, the default is to overwrite existing records.
- Locate the “Browse” button below the “Select ZIP containing XML files to add to queue” prompt. Select it and locate the ZIP file that you created above.
- Upon upload completion, the “Files in queue for import” will show the XML files that have been extracted from your ZIP file.
- Select the “Begin processing” link to start the import.
- The box at the bottom showing “Threads currently processing” will display progress. The blue button below it can be used to update the status. (please give the status a few minutes to calculate it’s percent and time to completion)
- When the “Threads currently processing” box is empty, the import is complete.
- Be sure the tab titled “Import XML data” is selected.
- Check your status
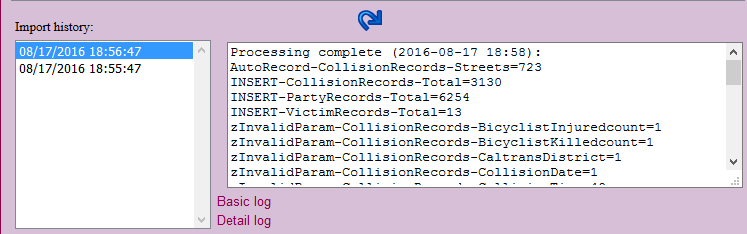
- You can check the results of the most recent, or any other import in the “import history” box. Each entry includes the date and time of the import, as well as a brief summary in the box to the right.

- You can also click on the “Basic log” link for a more detailed description, especially if the summary indicates that errors have occurred.
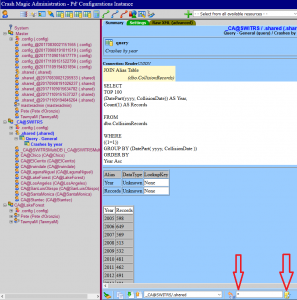
- Any of the reports in the program will reflect this new data. In addition, you should be able to find a query in the administrator panel called “Crashes by year”. It will be located either in your own user group, or the one above it, under the “.shared” user, in the “Query – General” section. The blue tab of this report can provide you with a quick, simple summary of the data in your system. Note: you must put a * in the designated location, and press the database button as shown below:
- If you would like information on using FTP to automate this process. Please see https://www.pdmagic.com/kb/automated-import-using-ftp/
- You can check the results of the most recent, or any other import in the “import history” box. Each entry includes the date and time of the import, as well as a brief summary in the box to the right.